Monday, October 17, 2011

Morticia would be proud

At least I would like to think she would be.

I decided to change my Halloween decor this year since I had idea after idea popping into my head once the fall catalogs started dropping in the mailbox.  This is my all time favorite mantel and it was fairly inexpensive.  Some Goodwill finds and a little spray paint will go a long way.  I wish you all could see it in person!

All of the frames, with the exception of the one in the center, came from the Goodwill store.  The candelabra did as well.  All of these items got a coat or two of black spray paint.  The silhouettes are clip art from free online sites that I cut out and mounted on craft paper.

The before photo. When I was shopping for these items, I was paying attention only to the shape of each item.  The black paint is a great unifier, but it also can make things a bit drab if they don't have an interesting raised detail, relief, or shape.

I also purchased some large red silk roses and gave them a light dusting with the spray paint.  It gives them great depth with out much effort.

If you are going to use a candelabra, make sure you burn down your candles.  A spooky house wouldn't have brand new tapers!
I also added a bit of black wax to my tapers to give them a more aged look.

I didn't have any Halloween photos of Charlotte, so I "spooked" her up with a witch's hat and jack-o-lantern :)

To finish it all off, I put a fine layer of spider web over all of it.

Some more photos around the house.
A certain large home decor store was selling burlap table runners for $50! I happened to have burlap in the closet.  Add a little black paint and Voila!  I will say, I cheated and used fabric glue for the seams.  I didn't want to mess with lining it.

  A spooky critter here and there.


I hope you all have a spooktacular Halloween!

Wednesday, August 10, 2011

One Nap Mat Cover Complete!

I finished it and it will work. I will definitely make changes to any future mat covers, but this was a good first attempt. I didn't take photos as I was making it, but it is easy enough. Make three rectangles and sew them together :)

I made the first one out of a light weight flannel. Here is the finished mat.


All folded up.


Pillow. I wanted to make the pillow AND the blanket out of this fabric, but it was the end of the bolt and I only had enough for the pillow. I do have a little left over than I might make into a "blankie" for C.


Button closure on the bottom. When the mat is unfolded, the buttons face down, that way the littles are less likely to mess with them during nap time.


Little model. She wasn't very cooperative, she had just woken up from her nap.


I wanted to sew a ribbon into the seams that would tie the mat closed, but I thought twice about it after I saw how long the ties would have to be. I am sure the teachers appreciate the change in my design so that it doesn't come with a ready made noose. I am happy with the finished product. I believe it has Charlotte's seal of approval, which is really all that matters, right?

Sunday, August 7, 2011

My pins are dull

Do you know how I know that? Because I broke out my NEW sewing machine tonight!!!

It's appearance is long overdue. I received it for a Mother's Day present (thanks again Honey) and just have not had the time to get it all out, read the instructions, play with the settings, and actually sew something. Of course, a project with a deadline will solve that. Charlotte starts MDO at the end of this month and I am making a cover for her nap mat. It will be done shortly and I will be back with pictures.

Hope you are all staying cool in this crazy heat.

Saturday, June 25, 2011

She doesn't nap very often anymore....

Well, she does, it just seems there are other things that are more important to accomplish, like laundry and the occasional dish-washing.

Creativity hasn't left, it has just been channeled into projects for my little brother's upcoming wedding and reception and I don't really want to post about any of that here. At least not until the bride and groom get to see what I (and a team of loving mothers, sisters, and friends) have created for them.

Happy Summer!

Saturday, April 9, 2011

Tuesday, April 5, 2011

Something Old, Something New, Borrowed, or Blue?

March was a blur. Just a complete and utter blur. We traveled, we hosted out of town guests, we had a family wedding, I became an aunt for the 7th time....etc, etc, etc. I told myself no less than eight times to sit down and post about this project, but it just never happened. So, the baby is down for her nap, and I don't have any excuses today :)

I was invited to a bridal shower for the beautiful bride of said family wedding. It had a great theme of something old, something new, something borrowed, something blue and the instructions for a gift were to "be creative".

Do you have a creative brain trust? If you don't, you really should get one. When I get stumped, I typically call my mother and/or sister. My mother is nothing short of an artistic genius in any medium you can think of and my sister has a fabulous aesthetic (that sells) and isn't too shabby in the creative genius department either. I do not hold a candle, not even close, but I can pick their brains and call whining "Help me, help me". That was the case here. My sister got me started with the suggestion of a photo album and I ran with it, albeit in a slightly different direction. Hey, I said I needed help, I'm not totally craftarded.

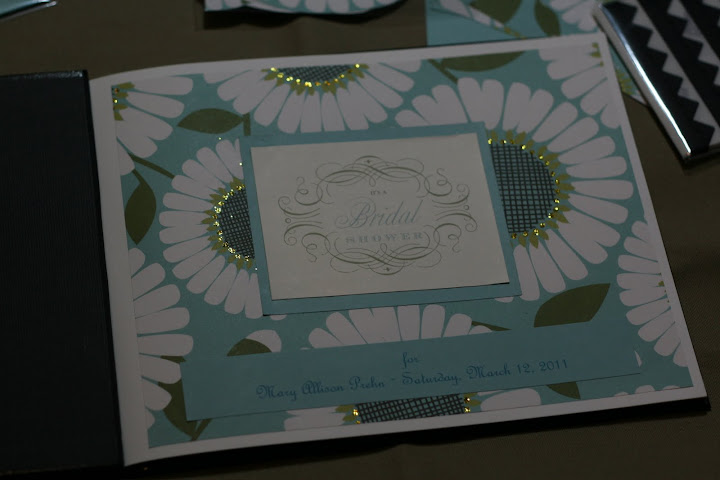
So for my creative gift, I settled on putting together a personalized scrapbook making kit. I decided I wanted to go with the something blue and used that and the invitation to the shower as my guide.

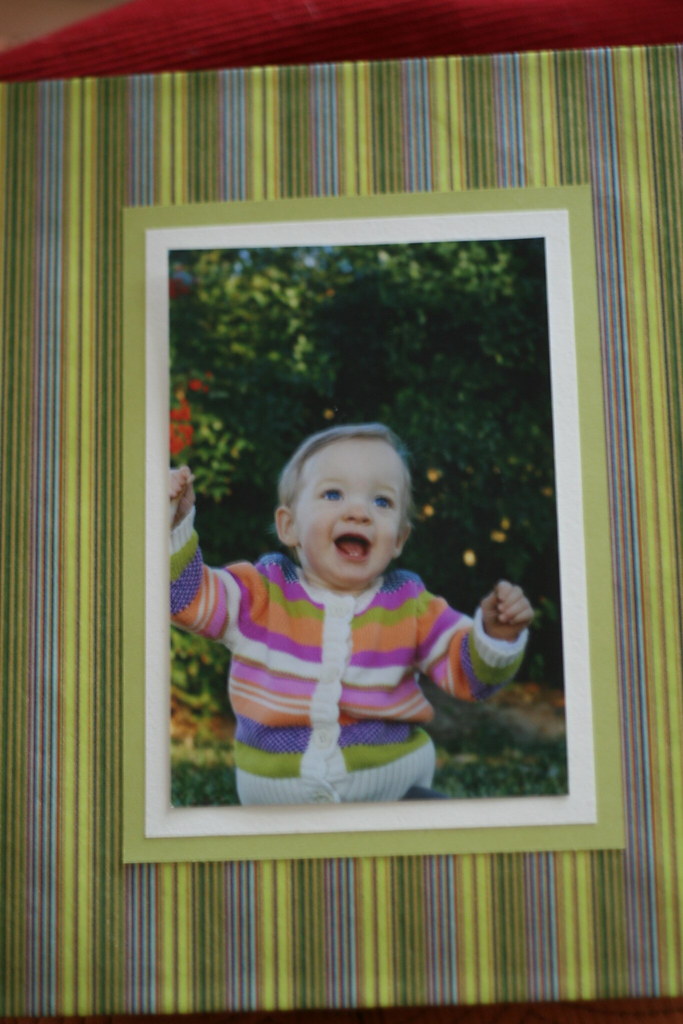
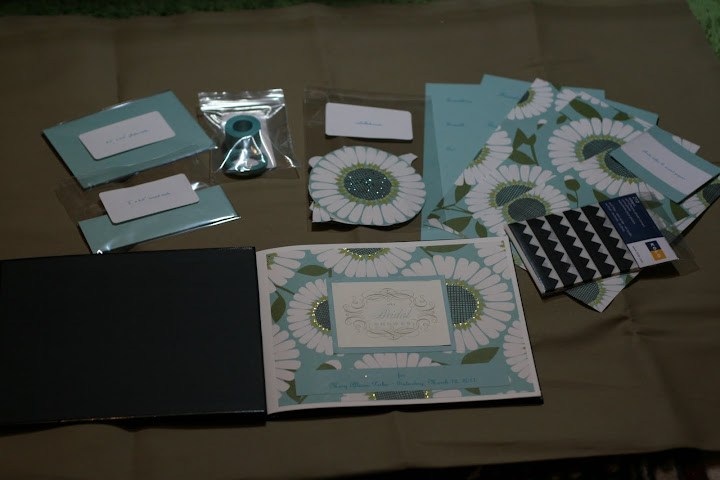
First, I set out to design and put together the first page. I used a portion of the shower invitation as the centerpiece and centered it on my accent paper. I also personalized the page with the date and name of the bride.


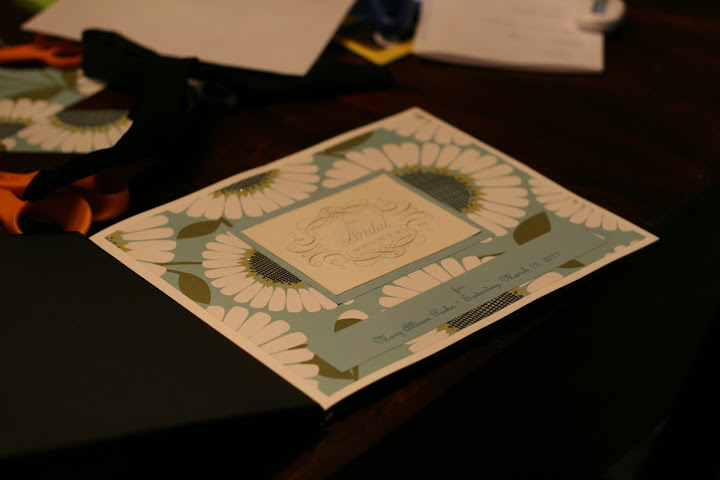
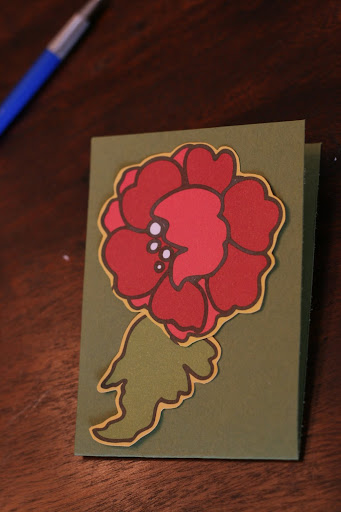
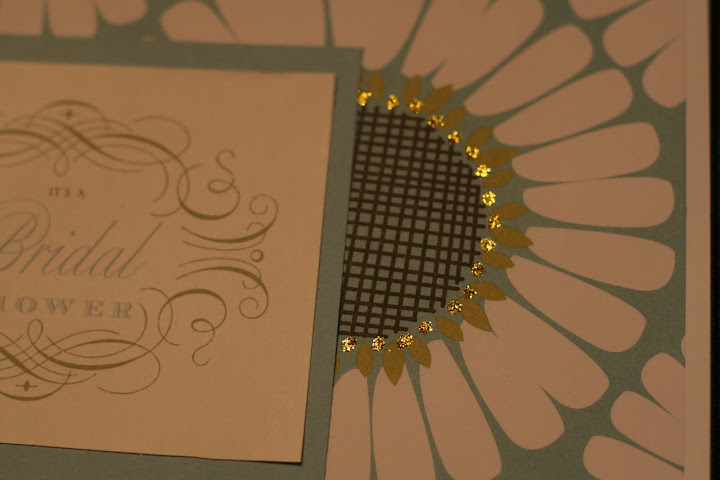
I couldn't help myself. I had to add a bit of glittery flair to the page with my handy dandy glue pen and ultra fine glitter.


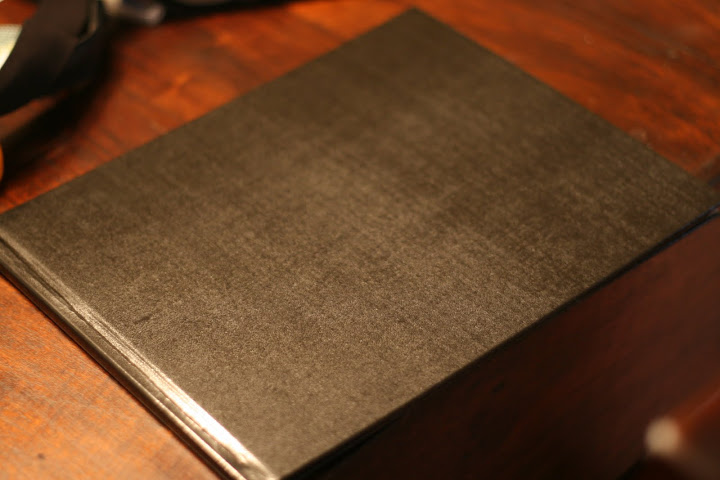
After I was happy with the cover sheet. I placed it and 10 or so blank pages in a book and bound it. If you don't have a book binder, you can always find a journal or scrapbook at the store that will work.


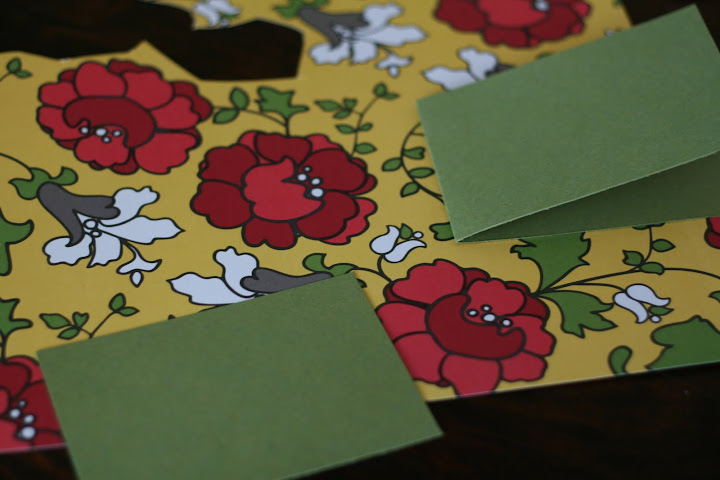
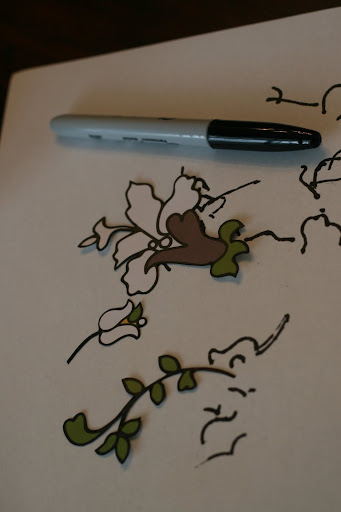
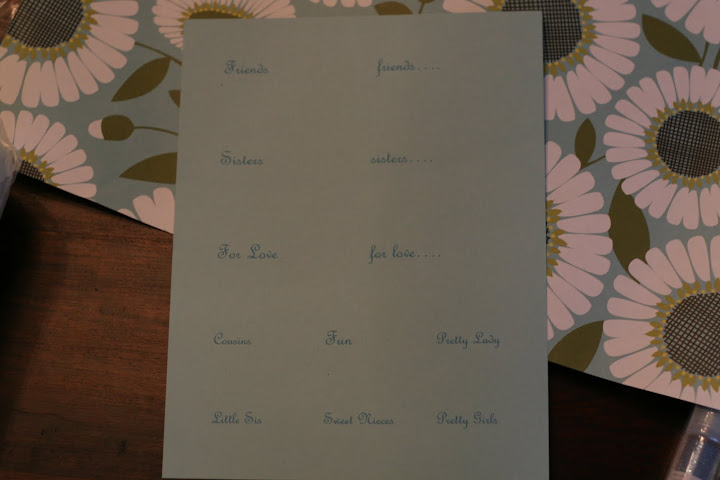
To make up the remainder of the kit, I cut out accent mats, photo mats, and accent flowers (with added glittery flair of course). I included blank paper and larger sheets of the daisy accent paper. I printed out phrases in the same color and font as my cover page and found some vintage inspired photo corners and coordinating ribbon to round out the kit.


I think this is a great way to honor a friend, bride or not. For me, the bridal shower was about the bride and I wanted to give her something that would remind her of how much she is loved and cherished. If I was a really great person, I would have offered to put it together for her, but I was worried that she would still be waiting on it well past her first anniversary :)

More to come, in less than a month, I promise.

P.S. If you love that daisy paper as much as I do, it is called Pool Daisy and you can find it at Paper Source. All of the blue paper also came from Paper Source in the color Pool.

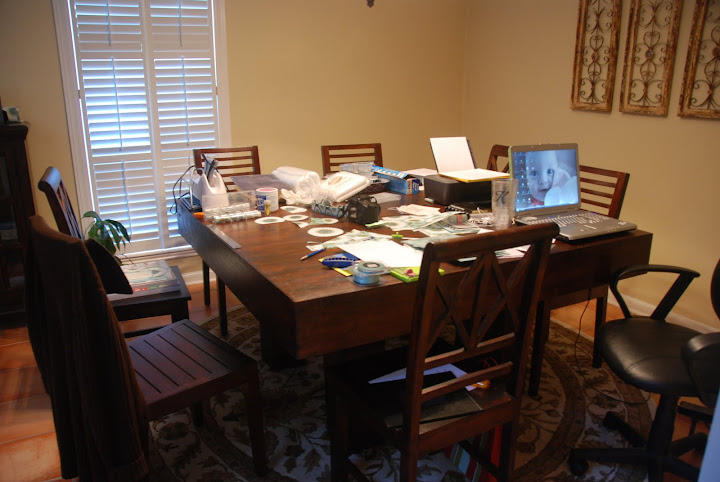
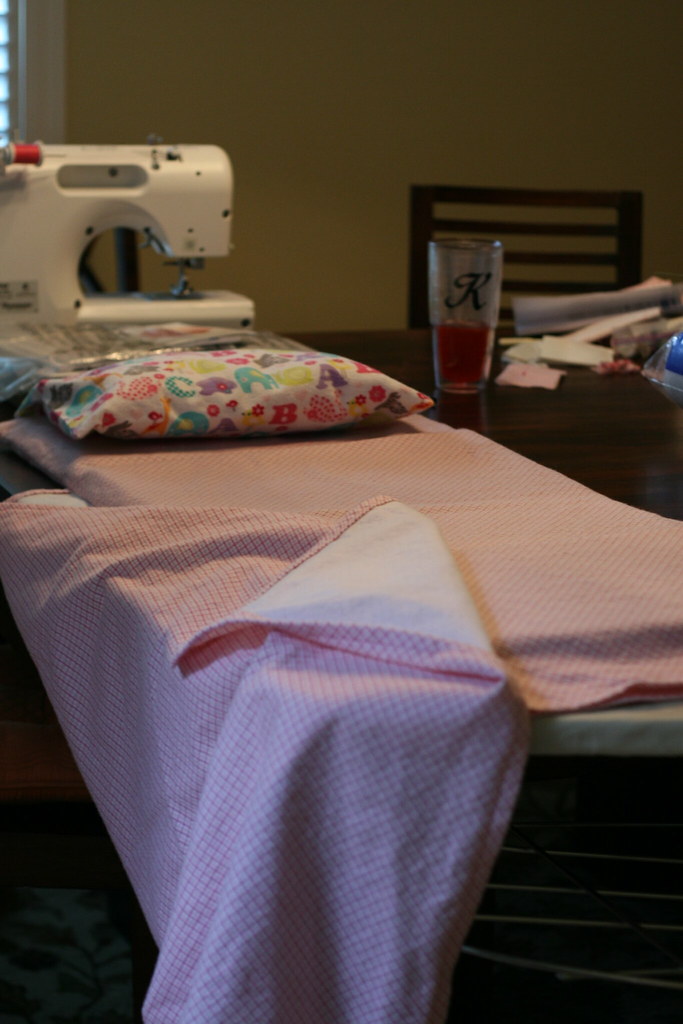
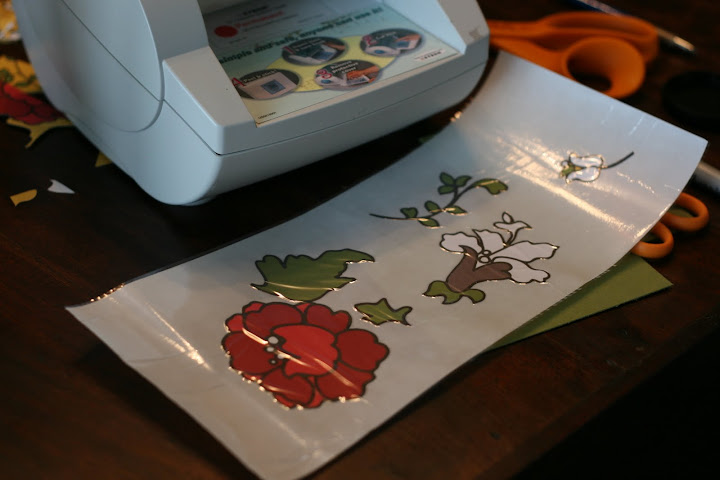
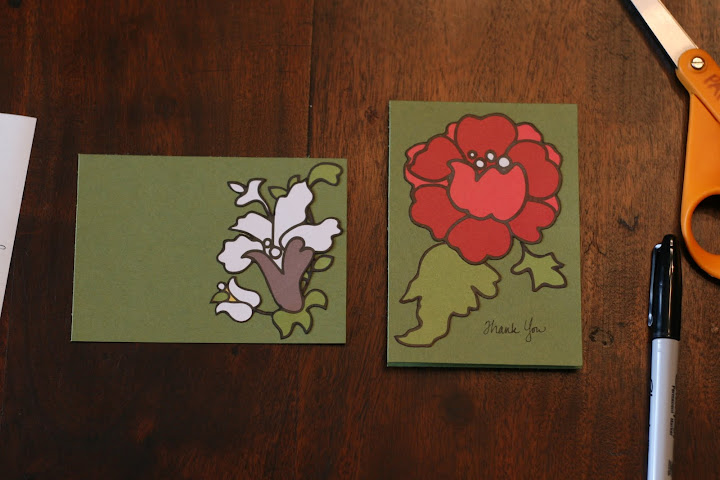
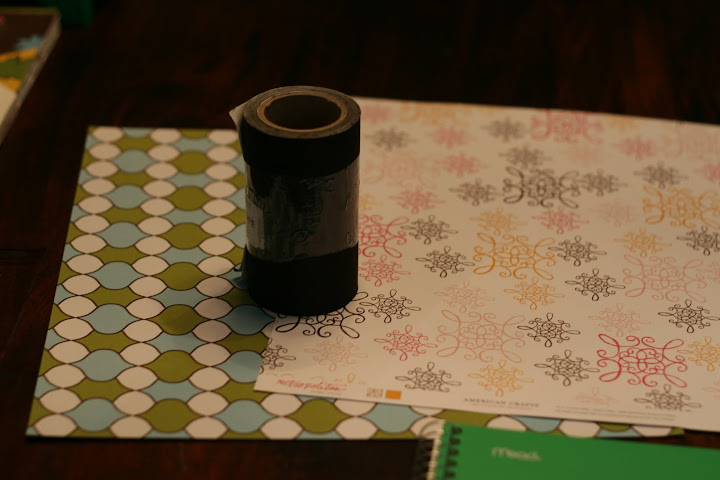
P.P.S. Here is a peek at my work space, mid project. Yes, this is what my husband lives with....and he doesn't even complain! I hit the jackpot with that guy I tell you.


Thursday, March 10, 2011

Top Secret Projects....

Just so you know, I am working on some things but it is all top secret. Check back next week :)

Thursday, February 24, 2011

Thank you.

Today I was busily checking things off my to-do list and feeling very productive. Entertaining the baby and doing laundry and cleaning up the mess from my last project and feeding the baby and cleaning the baby and entertaining the baby and you get the idea. Well, that all lasted until I got to #7 on my list, thank you notes. Yes, thank you notes have the power to completely derail my productive day.

In my defense, the people receiving these cards are such amazing people that I have had to write them dozens of notes over the years. They have already seen all of my stationery. These folks deserve handmade for all of their wonderfulness and who am I to deny them?

I have this floral paper that I love, but I never use because the print in so large it is hard to find things to do with it. Not so today! I decided to cut out some of the flowers and adorn my cards with them. I also pulled out a few pieces of scrap *high five* cover weight paper for the card base. I cut down the paper to make one folded card and one flat card.


Originally, I thought that the yellow would look nice against my green background so I cut a small border of yellow around the flower. I am glad that I decided to make sure before cutting all of the pieces. I didn't like the look, so I cut it off.


This paper is white core, so to give it a more finished look I ran a Sharpie around the edges. I know what you are thinking. What if your outline isn't black? Luckily, Sharpie has a large array of colors and if you don't have a set you should drop everything you are doing to go buy some. (Disclaimer: If you have ambulatory children, you must keep your Sharpies under lock and key when not in use. I can not be held responsible for the trouble the Sharpie gremlins will create with your children should they be left unsupervised. The Sharpie gremlins are extremely mischievous).


After cutting out and cleaning up all of my pieces, I ran them through my trusty sticker maker.


After settling on the placement of the pieces, I attached the flowers to the cards and penned a greeting on the folded card.


I love how they turned out. I wish I had the time and patience to make all of my snail mail correspondence look this way.

Tuesday, February 22, 2011

'Necessity is the mother of all invention'

Ok, so this clearly isn't an "invention", but I do find that I often set out to make something because I can't find what I am looking for at a reasonable price. For instance, I needed to find two small journals for a friend of mine. After looking high and low and being unhappy with my options, I decided to take matters into my own hands.

I found two functional spirals that were about the size I was looking for, but as you can see....not cute.

I thought about covering them and leaving the spiral portion exposed, but that quickly went out the window because it didn't look nice. So I separated the spirals and set out to make a template out of plain (read: cheap) paper.

Before cutting into my more expensive paper, I wanted to make sure that I was going to be able to adequately cover the green with the tools I had in my arsenal. My pattern worked, so I went ahead with picking out my paper. I also chose brown linen book binding tape to personalize the journals.

I traced my pattern onto the back of the decorative paper, cut it out, and punched the holes. If you are going to do something similar, try to use as many factory edges of the paper as possible. This will ensure the pattern is square. To personalize the journals, I sketched out block letters, again, on plain paper, and made sure they were the proportion I wanted.

Next, I traced the letters, transposed, onto the backing of the book binding and cut them out.

Finally, I centered and attached the book binding letters to the decorative paper, then lined up and attached the decorative paper to the original spiral notebook cover with adhesive.

I am pleased with how they turned out. Now they are functional AND cute.

Sunday, February 20, 2011

Putting it out there

Hello, my name is Katie and I am a serial crafter. I am addicted to fabric, paper, paint, bits, bobbles, paper, embellishments, ink, paper, beads etc, etc, etc. I have finally decided, one year after changing careers, that I want to share my crafting prowess with the world. *large flourish of the arms*

Career change? Yes, almost one year ago, my husband and I decided that the best thing for our family was for me to leave my job to stay home with our daughter. She had a rough start to life and we wanted to make sure that she had every advantage we could possibly provide her and, for us, that meant getting a full time Mom. It has been an extraordinary change for me and I wouldn't trade it for anything. Now, on to the crafts!

I come from a very creative and talented family. Artists abound, really. If it can be made by hand, I will guarantee you that someone in my family has done it or can do it and they do it really well. I, unfortunately, didn't get that artistic ability. Now, don't get the pity party supplies out just yet. Growing up in an environment where creativity was encouraged helped make me quite the "crafter". I don't really like that moniker, crafter. Perhaps I could be known as a snazzy modifier or creative embellisher. No? Well, crafter is ok, I guess.

So, this is me putting it out there. What will be featured here? I don't know, I am sure a little bit of everything. How often will I post? I don't know, that depends largely on a certain chatty 15 month old. I hope you enjoy my projects and maybe gather just a bit of inspiration while you are visiting.

Cheers,
Katie