Seriously, I got this app called Blogsy and it makes blogging so stinkin' easy, you guys might get sick of hearing from me. They didn't even pay me to say that.
Anyway, I whipped a cute little ironing board out quick like during Charlotte's ACTUAL nap time and I thought it appropriate to share.
A while ago, I bought one of those "travel" ironing pads. My thought was, it would be nice to put it on the table next to my sewing machine and iron my fabrics and seams and such, without having to drag out our ginormous ironing board. Well, it doesn't work well at all. Understatement. It actually works against you. Enter mindless scanning of Pinterest. Some genius had turned a tv tray into an ironing board! I didn't even need to read the tutorial, the picture was enough for me. I cut that travel pad apart, layered it all on top of the tv tray, added some cute fabric, and stapled it into submission. Sorry no before and after pics.
And the best part?
It still collapses for easy storage!
That fabric is called Butterfly Garden from Jane Sassman for Free Spirit, in case you were wondering. I bought it a million years ago, so you might be hard pressed to find it now, but you never know.
Thursday, July 5, 2012
Tuesday, July 3, 2012
Laura Ingalls I am not...
...but I did make peach jelly yesterday!
You want to know something awesome about my already amazing husband? His family owns a peach orchard outside of Fredericksburg, Texas. On good years, we end up with more peaches than any one family should and we take full advantage. I may be partial, but I am pretty sure Uncle Mark grows the best, juiciest peaches around.
With the encouragement of my mother-in-law, Deborah, (who, in case you didn't know, is the boss on all things cooking, gardening, and canning) I decided to attempt making this jelly from the peels of the peaches I put in the freezer. I wasn't feeling very adventurous so I sought out a recipe and tutorial that sounded similar to what Deborah told me to do. I originally found an easy to follow one here and the author of that tutorial reposted it just today on her own blog.
It was a whole lot of work, but I am glad I tried it. I think the next time, I will be more confident and more efficient. We haven't tried the jelly yet, but they all appear to be setting up properly. Fingers crossed.
You want to know something awesome about my already amazing husband? His family owns a peach orchard outside of Fredericksburg, Texas. On good years, we end up with more peaches than any one family should and we take full advantage. I may be partial, but I am pretty sure Uncle Mark grows the best, juiciest peaches around.
With the encouragement of my mother-in-law, Deborah, (who, in case you didn't know, is the boss on all things cooking, gardening, and canning) I decided to attempt making this jelly from the peels of the peaches I put in the freezer. I wasn't feeling very adventurous so I sought out a recipe and tutorial that sounded similar to what Deborah told me to do. I originally found an easy to follow one here and the author of that tutorial reposted it just today on her own blog.
It was a whole lot of work, but I am glad I tried it. I think the next time, I will be more confident and more efficient. We haven't tried the jelly yet, but they all appear to be setting up properly. Fingers crossed.
Pretty jars in a row
Peach Palooza 2012
Friday, June 22, 2012
Tap, tap, tap....is this thing on?
Hello strangers. Long time no post. Where does one find the time? Well, it helps when you can use a few nifty apps and post straight from your iPad. Perhaps now I will be more prolific. We shall see.
Anywho, I have been keeping busy and have done so many creative things. Let me just catch you up with a photo post.
Waaaaay back in October, my little brother married a wonderful young lady and I helped with the table decorations at the reception. I was really happy with how they turned out.
We made magnolias out of crepe paper and attached them to fallen tree branches from mine and my parents backyards. It was a great way to add some decorative height in that large reception space without creating something that you couldn't see around.
My mother spent a bazillion hours on the centers of these flowers. I think we made a total of 84 flowers...whew! She also made a few of these little resistor dragonflies to grace the center of some of the flowers. LOVE how they turned out.
And what reception table would be complete without a few found object robots of love? I am particularly proud of these guys. It was a lot of fun watching each little guy come to life as I put them together (with the help of my Aunts Patty & Liz). This is just a sampling, I think there were 16 or 18 of these. Special guests got to take them home at the end of the evening.
Moving on...
I made this ladybug costume for Charlotte. Detachable wings for easy washing.
I found and reupholstered this chair for Charlotte's birthday. The pillow is my favorite part :)
I made this baby quilt for some good friends that are expecting.
I decided to also make this little elephant from a pattern I found online...will need to link that as soon as I can find it.
I had so much fun making the first elephant, I decided that a set of little twins I know needed one of their own. (I also made that runner they are standing on, but I can't seem to find a good photo of it).
Another runner. I really like this one AND I did a pretty good job on my free motion quilting. That is a whole lot harder than I thought it was going to be. (sorry for the poor iPad photos on this one).
Well, that about wraps it up the last 8.5 months. Lots of sewing going on around here. It seems to be my newest obsession. Now off to find that pattern for the elephant so I can link it and give credit...
Cheers,
Katie
Anywho, I have been keeping busy and have done so many creative things. Let me just catch you up with a photo post.
Waaaaay back in October, my little brother married a wonderful young lady and I helped with the table decorations at the reception. I was really happy with how they turned out.
We made magnolias out of crepe paper and attached them to fallen tree branches from mine and my parents backyards. It was a great way to add some decorative height in that large reception space without creating something that you couldn't see around.
My mother spent a bazillion hours on the centers of these flowers. I think we made a total of 84 flowers...whew! She also made a few of these little resistor dragonflies to grace the center of some of the flowers. LOVE how they turned out.
Moving on...
I made this ladybug costume for Charlotte. Detachable wings for easy washing.
I found and reupholstered this chair for Charlotte's birthday. The pillow is my favorite part :)
I decided to also make this little elephant from a pattern I found online...will need to link that as soon as I can find it.
(My quality control advisor pointing out an issue.)
Quilted coasters. I made these for a swap at a friend's Pintrest party. I really like how they turned out and might try more. Everybody may be getting coasters for Christmas :)
Well, that about wraps it up the last 8.5 months. Lots of sewing going on around here. It seems to be my newest obsession. Now off to find that pattern for the elephant so I can link it and give credit...
Cheers,
Katie
Monday, October 17, 2011
Morticia would be proud
At least I would like to think she would be.
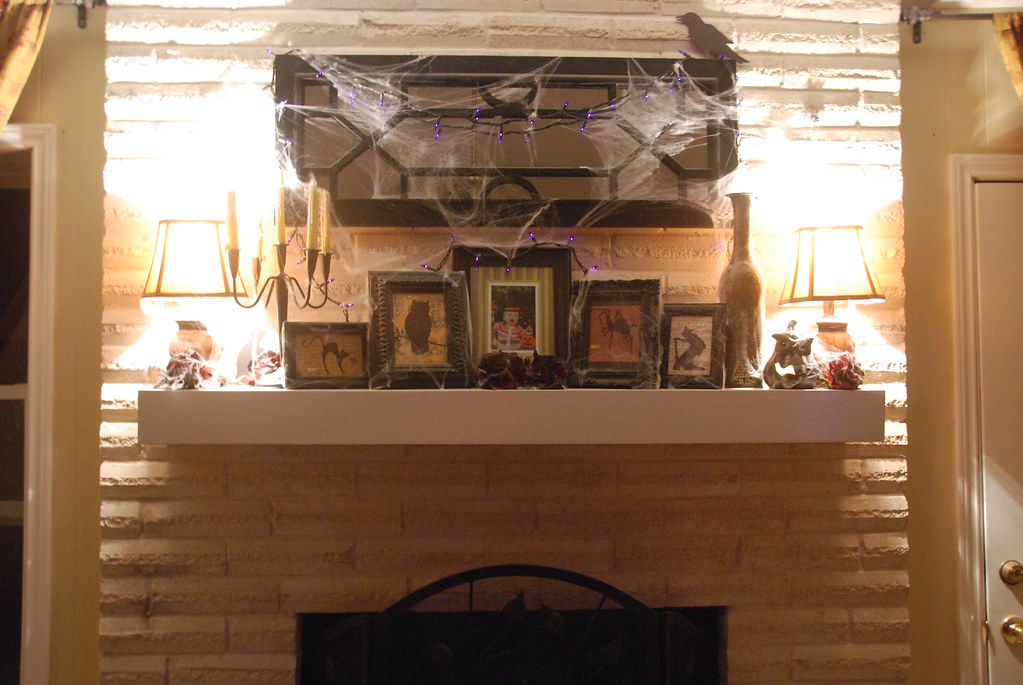
I decided to change my Halloween decor this year since I had idea after idea popping into my head once the fall catalogs started dropping in the mailbox. This is my all time favorite mantel and it was fairly inexpensive. Some Goodwill finds and a little spray paint will go a long way. I wish you all could see it in person!
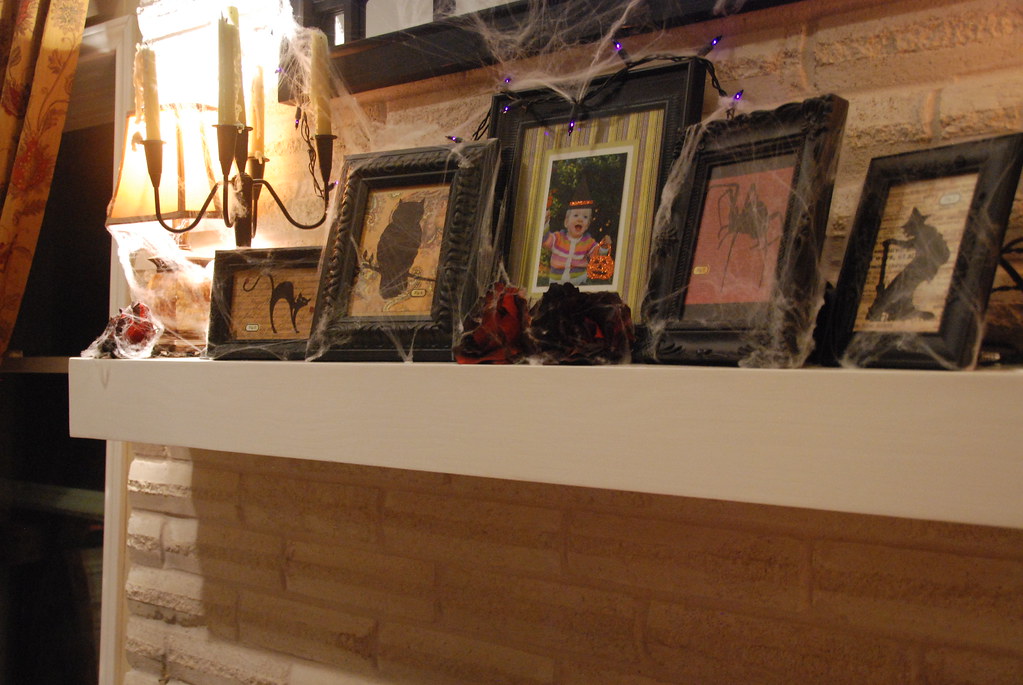
All of the frames, with the exception of the one in the center, came from the Goodwill store. The candelabra did as well. All of these items got a coat or two of black spray paint. The silhouettes are clip art from free online sites that I cut out and mounted on craft paper.
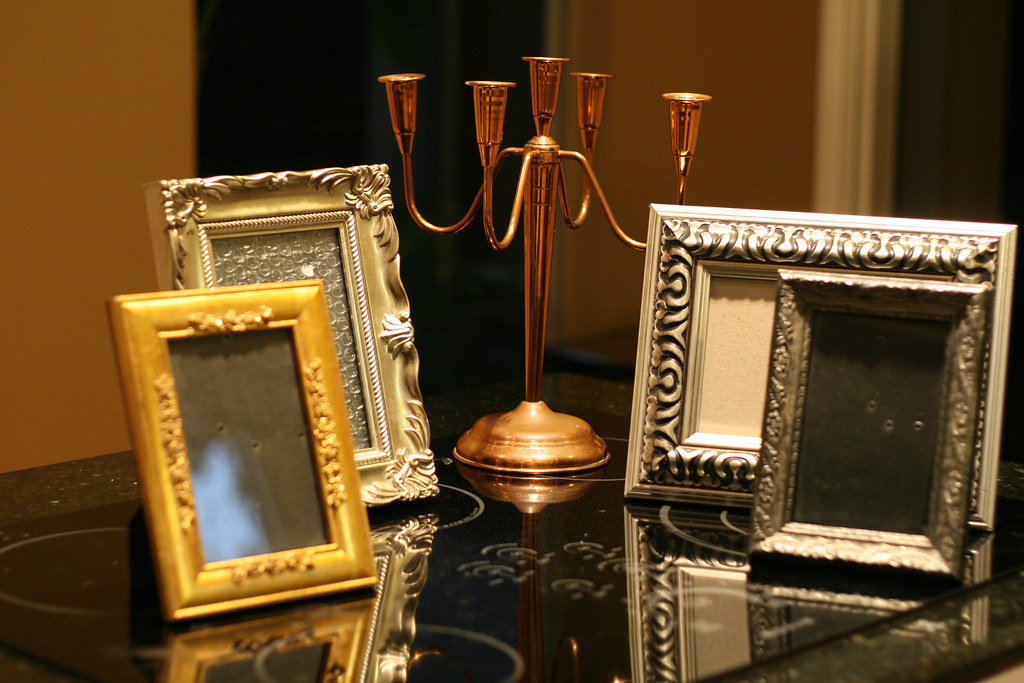
The before photo. When I was shopping for these items, I was paying attention only to the shape of each item. The black paint is a great unifier, but it also can make things a bit drab if they don't have an interesting raised detail, relief, or shape.
I also purchased some large red silk roses and gave them a light dusting with the spray paint. It gives them great depth with out much effort.
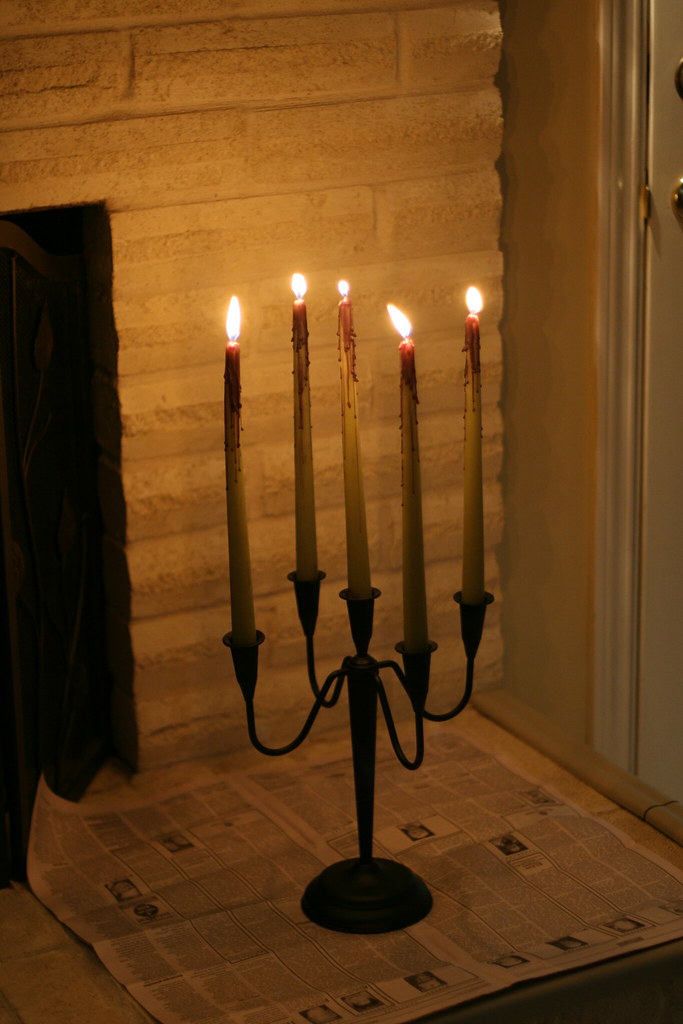
If you are going to use a candelabra, make sure you burn down your candles. A spooky house wouldn't have brand new tapers!
I also added a bit of black wax to my tapers to give them a more aged look.
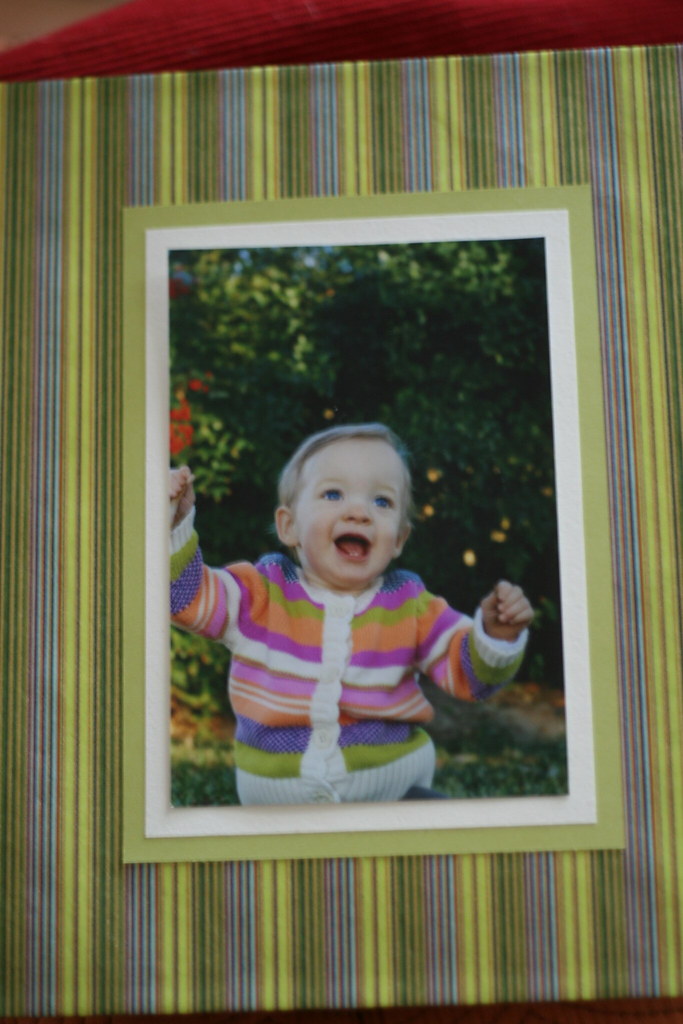
I didn't have any Halloween photos of Charlotte, so I "spooked" her up with a witch's hat and jack-o-lantern :)
To finish it all off, I put a fine layer of spider web over all of it.
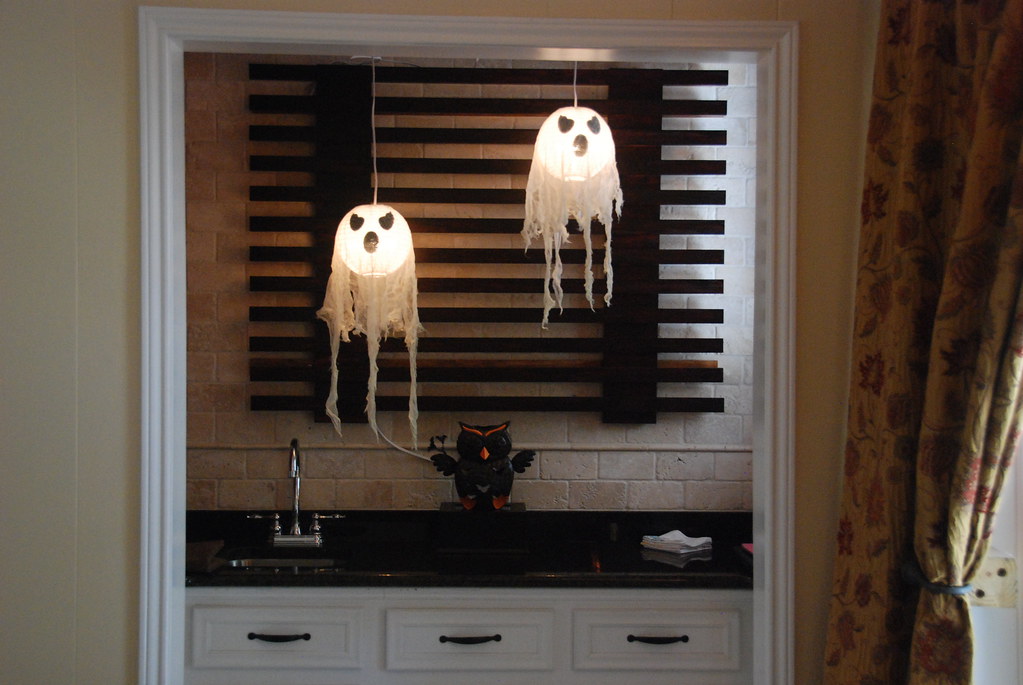
Some more photos around the house.
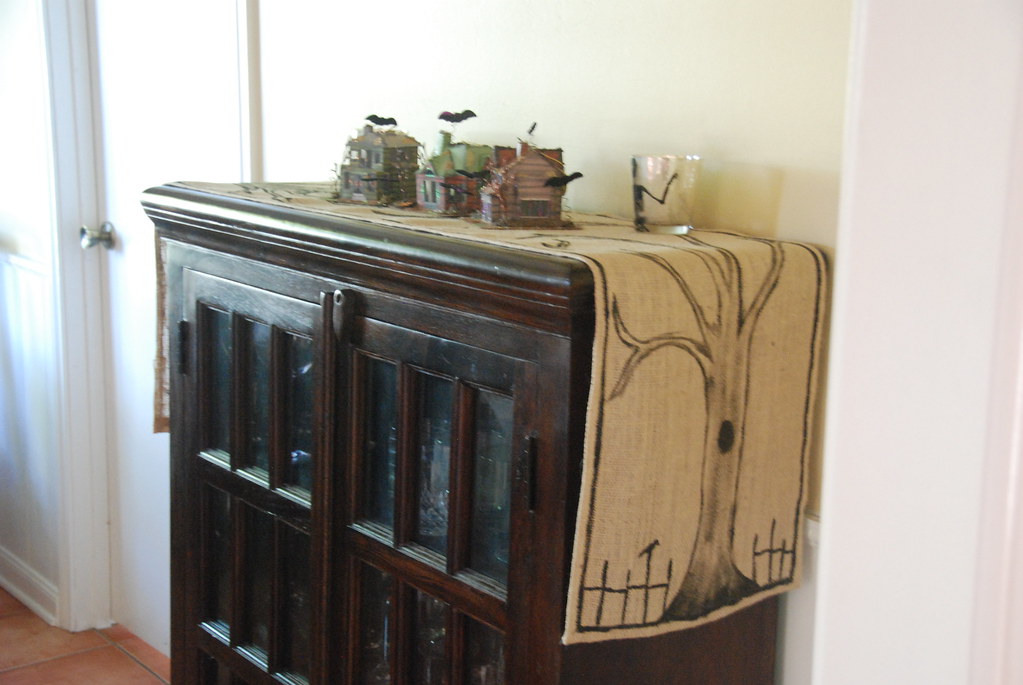
A certain large home decor store was selling burlap table runners for $50! I happened to have burlap in the closet. Add a little black paint and Voila! I will say, I cheated and used fabric glue for the seams. I didn't want to mess with lining it.
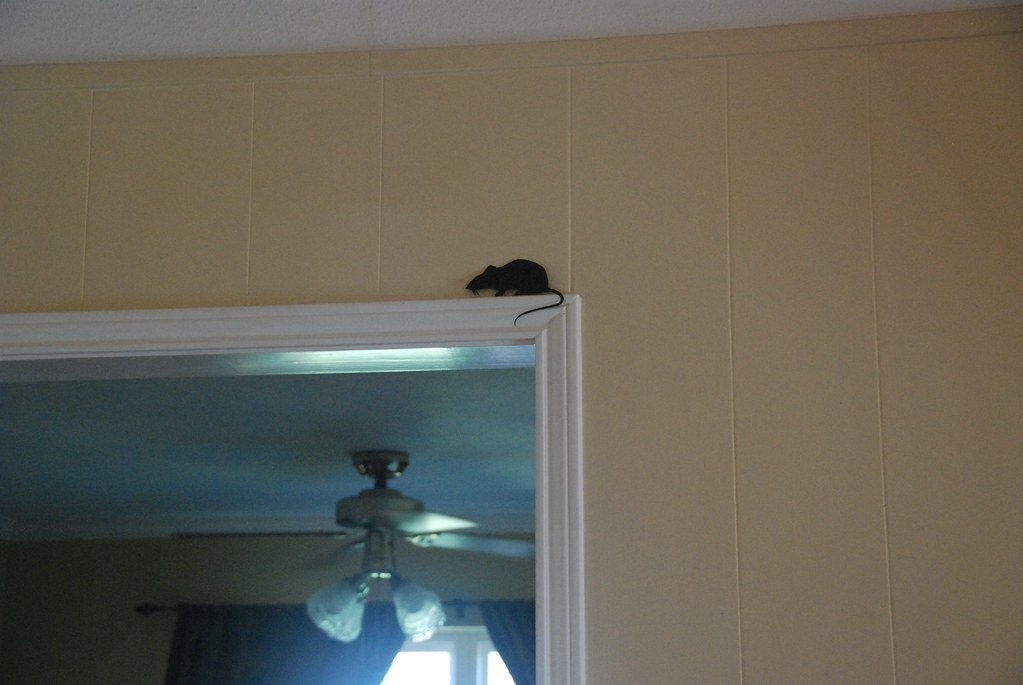
A spooky critter here and there.
I hope you all have a spooktacular Halloween!
I decided to change my Halloween decor this year since I had idea after idea popping into my head once the fall catalogs started dropping in the mailbox. This is my all time favorite mantel and it was fairly inexpensive. Some Goodwill finds and a little spray paint will go a long way. I wish you all could see it in person!
All of the frames, with the exception of the one in the center, came from the Goodwill store. The candelabra did as well. All of these items got a coat or two of black spray paint. The silhouettes are clip art from free online sites that I cut out and mounted on craft paper.
The before photo. When I was shopping for these items, I was paying attention only to the shape of each item. The black paint is a great unifier, but it also can make things a bit drab if they don't have an interesting raised detail, relief, or shape.
I also purchased some large red silk roses and gave them a light dusting with the spray paint. It gives them great depth with out much effort.
If you are going to use a candelabra, make sure you burn down your candles. A spooky house wouldn't have brand new tapers!
I also added a bit of black wax to my tapers to give them a more aged look.
I didn't have any Halloween photos of Charlotte, so I "spooked" her up with a witch's hat and jack-o-lantern :)
To finish it all off, I put a fine layer of spider web over all of it.
Some more photos around the house.
A certain large home decor store was selling burlap table runners for $50! I happened to have burlap in the closet. Add a little black paint and Voila! I will say, I cheated and used fabric glue for the seams. I didn't want to mess with lining it.
A spooky critter here and there.
I hope you all have a spooktacular Halloween!
Wednesday, August 10, 2011
One Nap Mat Cover Complete!
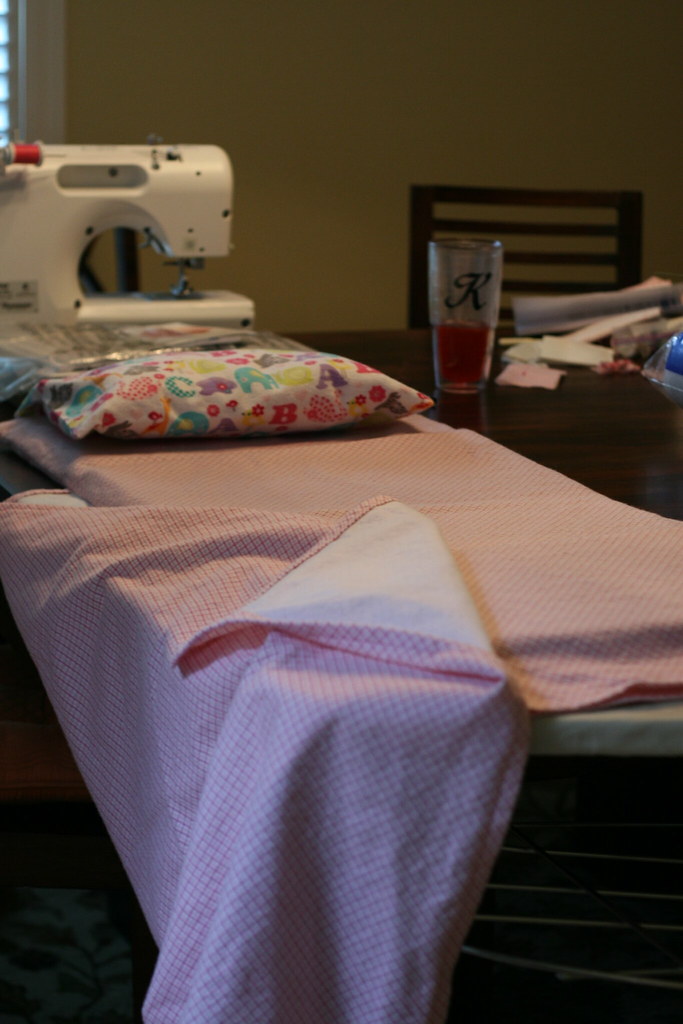
I finished it and it will work. I will definitely make changes to any future mat covers, but this was a good first attempt. I didn't take photos as I was making it, but it is easy enough. Make three rectangles and sew them together :)
I made the first one out of a light weight flannel. Here is the finished mat.
All folded up.
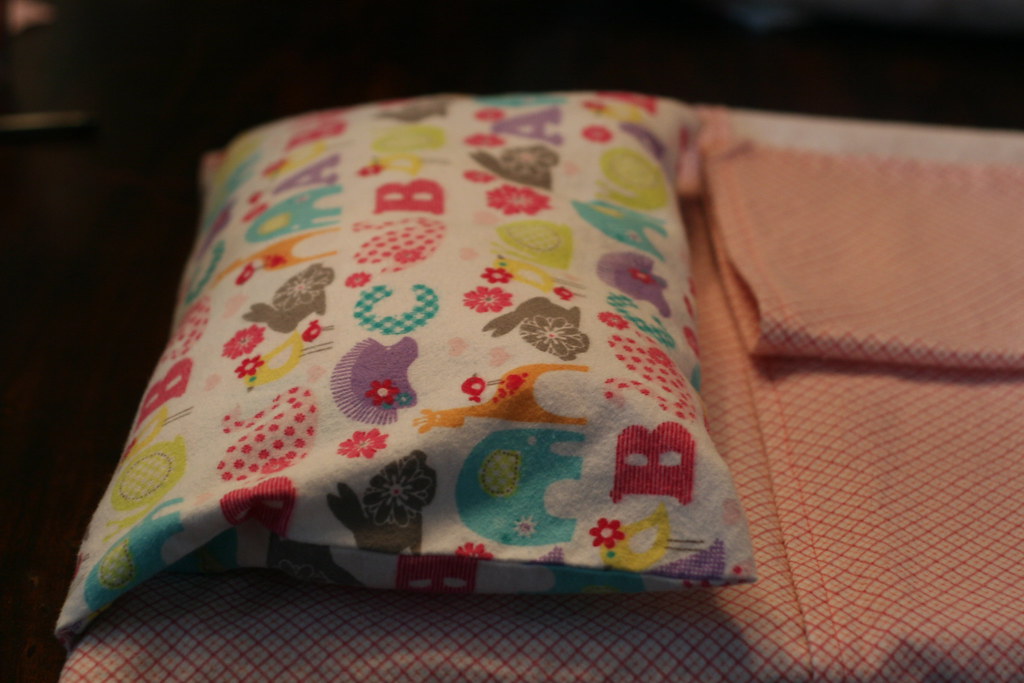
Pillow. I wanted to make the pillow AND the blanket out of this fabric, but it was the end of the bolt and I only had enough for the pillow. I do have a little left over than I might make into a "blankie" for C.
Button closure on the bottom. When the mat is unfolded, the buttons face down, that way the littles are less likely to mess with them during nap time.
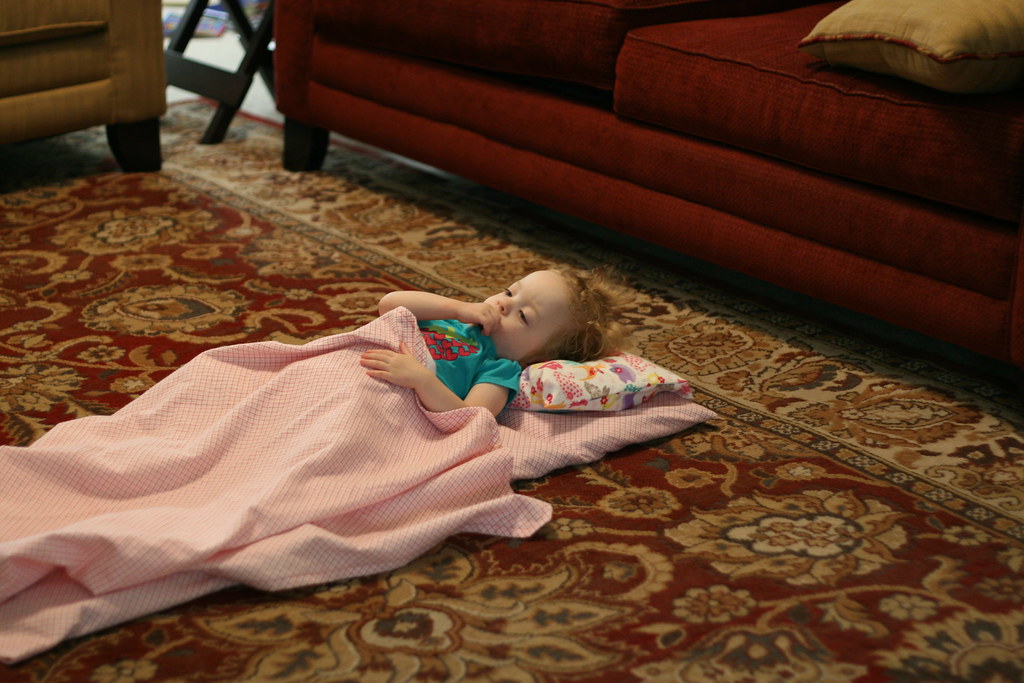
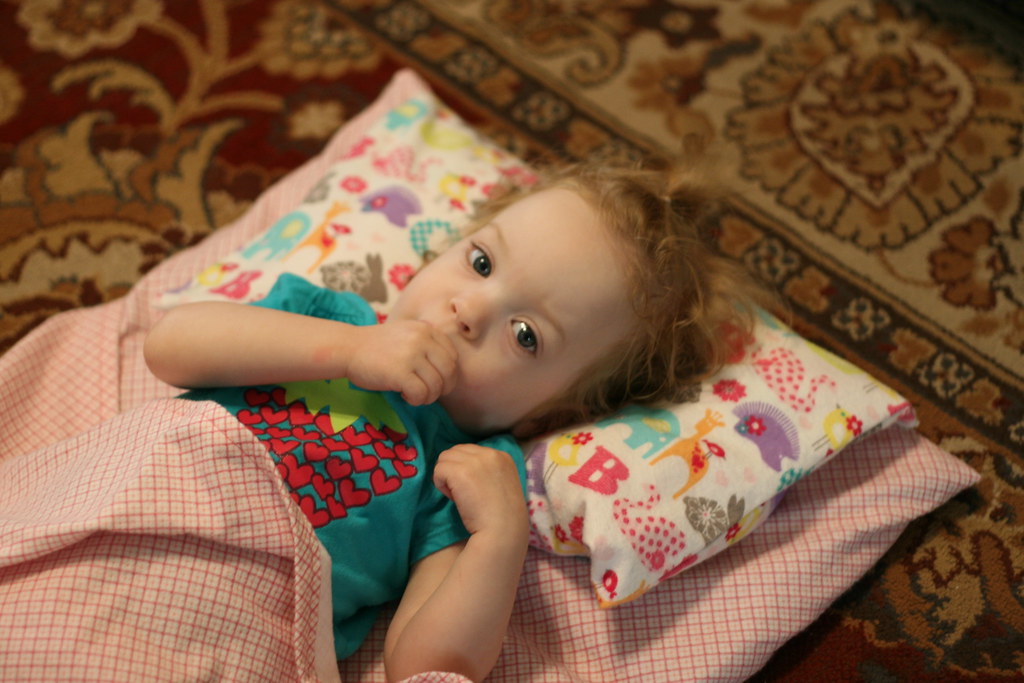
Little model. She wasn't very cooperative, she had just woken up from her nap.
I wanted to sew a ribbon into the seams that would tie the mat closed, but I thought twice about it after I saw how long the ties would have to be. I am sure the teachers appreciate the change in my design so that it doesn't come with a ready made noose. I am happy with the finished product. I believe it has Charlotte's seal of approval, which is really all that matters, right?
I made the first one out of a light weight flannel. Here is the finished mat.
All folded up.
Pillow. I wanted to make the pillow AND the blanket out of this fabric, but it was the end of the bolt and I only had enough for the pillow. I do have a little left over than I might make into a "blankie" for C.
Button closure on the bottom. When the mat is unfolded, the buttons face down, that way the littles are less likely to mess with them during nap time.
Little model. She wasn't very cooperative, she had just woken up from her nap.
I wanted to sew a ribbon into the seams that would tie the mat closed, but I thought twice about it after I saw how long the ties would have to be. I am sure the teachers appreciate the change in my design so that it doesn't come with a ready made noose. I am happy with the finished product. I believe it has Charlotte's seal of approval, which is really all that matters, right?
Sunday, August 7, 2011
My pins are dull
Do you know how I know that? Because I broke out my NEW sewing machine tonight!!!
It's appearance is long overdue. I received it for a Mother's Day present (thanks again Honey) and just have not had the time to get it all out, read the instructions, play with the settings, and actually sew something. Of course, a project with a deadline will solve that. Charlotte starts MDO at the end of this month and I am making a cover for her nap mat. It will be done shortly and I will be back with pictures.
Hope you are all staying cool in this crazy heat.
Saturday, June 25, 2011
She doesn't nap very often anymore....
Well, she does, it just seems there are other things that are more important to accomplish, like laundry and the occasional dish-washing.
Creativity hasn't left, it has just been channeled into projects for my little brother's upcoming wedding and reception and I don't really want to post about any of that here. At least not until the bride and groom get to see what I (and a team of loving mothers, sisters, and friends) have created for them.
Happy Summer!
Creativity hasn't left, it has just been channeled into projects for my little brother's upcoming wedding and reception and I don't really want to post about any of that here. At least not until the bride and groom get to see what I (and a team of loving mothers, sisters, and friends) have created for them.
Happy Summer!
Subscribe to:
Posts (Atom)